I’ll walk you through cutting your wedding cake without the drama. First, decide if you’re cutting post-dinner or during grand entrance—both work fine. Grab a sharp serrated knife and cake server, then position yourselves beside the cake in a V-shape for photos. Score a 2-inch circle on the bottom tier, make two parallel cuts an inch apart, and slide that wedge onto a plate smoothly. Finally, decide between a polite bite or playful smash—just coordinate with your photographer. Stick around for the specific techniques that’ll make you look absolutely pro.
When to Cut the Wedding Cake: Post-Dinner vs. Grand Entrance
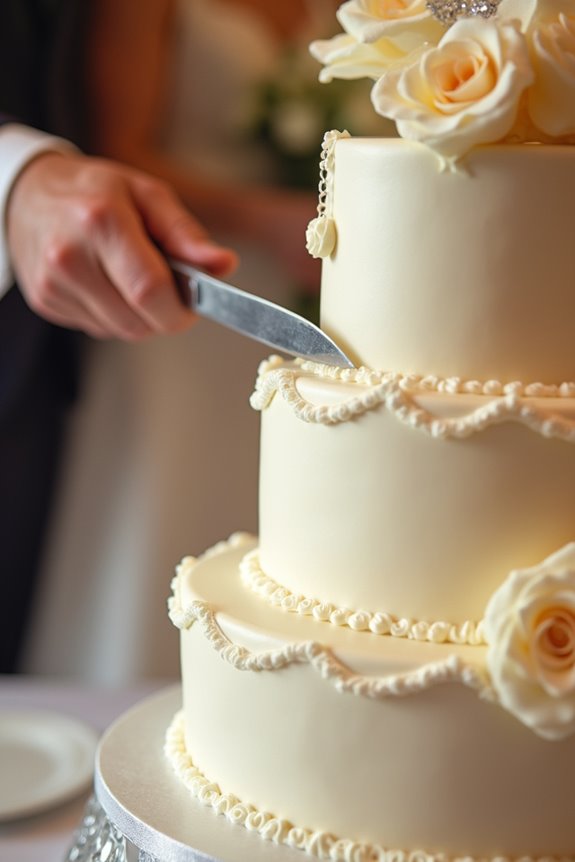
When should you actually slice into that cake? I’ve found that timing makes all the difference. The post-dinner cut is incredibly popular—it works as dessert and gives your guests the energy boost they need before hitting the dance floor. It’s practical and feels natural in your reception flow.
However, I’d suggest considering a grand entrance cut instead. Here’s why: your makeup, hair, and attire stay completely fresh for photos. You’ll look flawless in those cake-cutting pictures (which matter more than you’d think). This timing also shifts energy throughout your event rather than saving everything for the end.
Both options work well. Choose post-dinner if you want tradition and momentum. Pick grand entrance if you’re prioritizing photo-perfect moments. Either way, you’ve got this.
Prepare Your Tools and Position the Cake Table
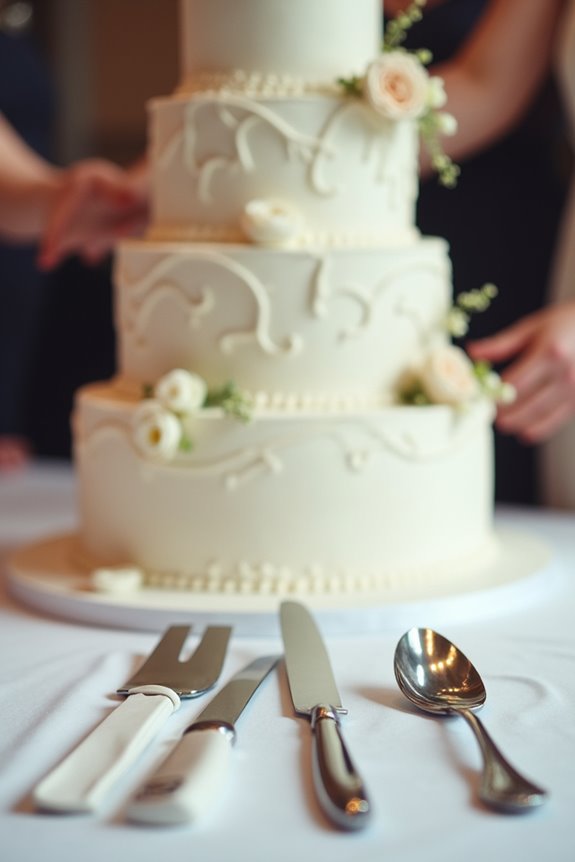
Why does setup matter so much? You’re about to make your first cut into that gorgeous wedding cake, and trust me, you don’t want things falling apart (literally). Proper preparation transforms the cutting ceremony from nerve-wracking to smooth.
Here’s what I gather beforehand:
- A sharp serrated cake knife, cake server, damp towel, and dry towel for clean slices
- A sturdy cake table positioned with space for your cutting motion and guest viewing
- A clear serving plan identifying the bottom tier as your cutting point
- Confirmed stability by removing any visible dowels or supports from your wedding cake
I also position cameras for side and front angles so you’ll actually see that perfect moment later. Your stability and serving plan determine whether this ceremony flows beautifully or becomes an Instagram disaster.
Position Yourselves and the Knife: The Grip and Camera Angle
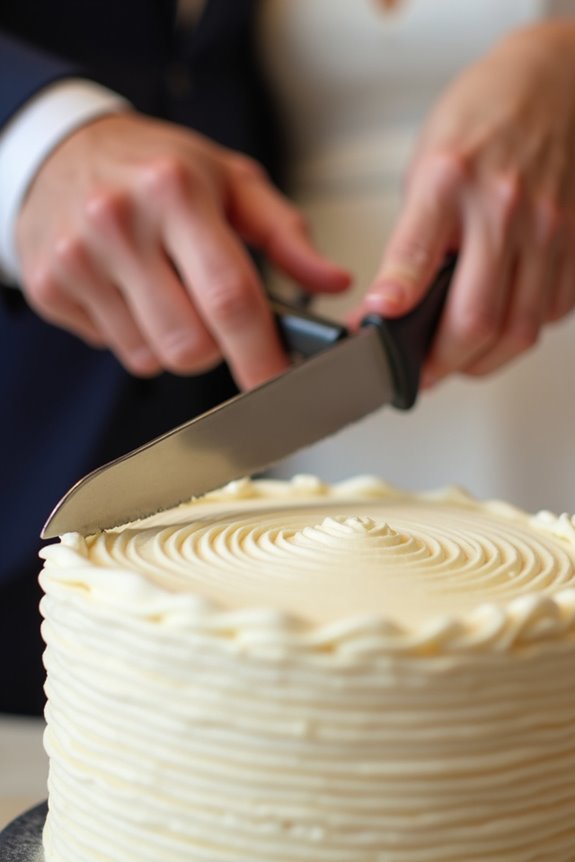
Now that your cake table’s locked in and you’ve got your tools ready, it’s time to nail the actual positioning—because where you stand matters just as much as how you hold that knife.
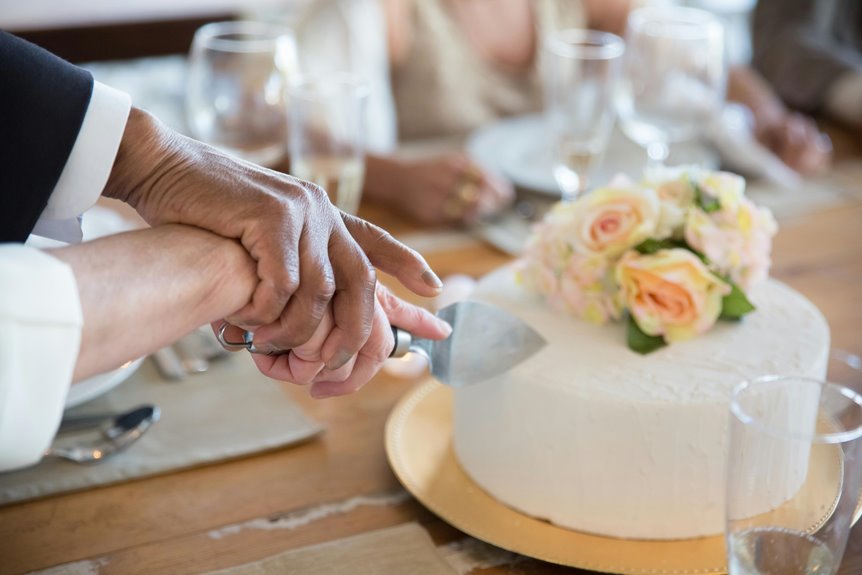
Here’s the grip: you’ll hold the knife with your right hand while your groom places his right hand over yours to guide the cut. This partnership move looks stunning on camera and keeps things steady.
Hold the knife with your right hand while your groom’s right hand guides yours—a stunning partnership move that steadies the cut.
Next, position yourselves beside the cake to create a V shape pointing toward your photographer. This angle captures both front and side profiles beautifully. Start cutting from the bottom tier—trust me, stability matters here.
Keep your grip steady and avoid overreaching. Let the blade follow a clean, horizontal slice for that perfect wedge. Your photographer will thank you.
Score and Slice the Bottom Tier Cleanly
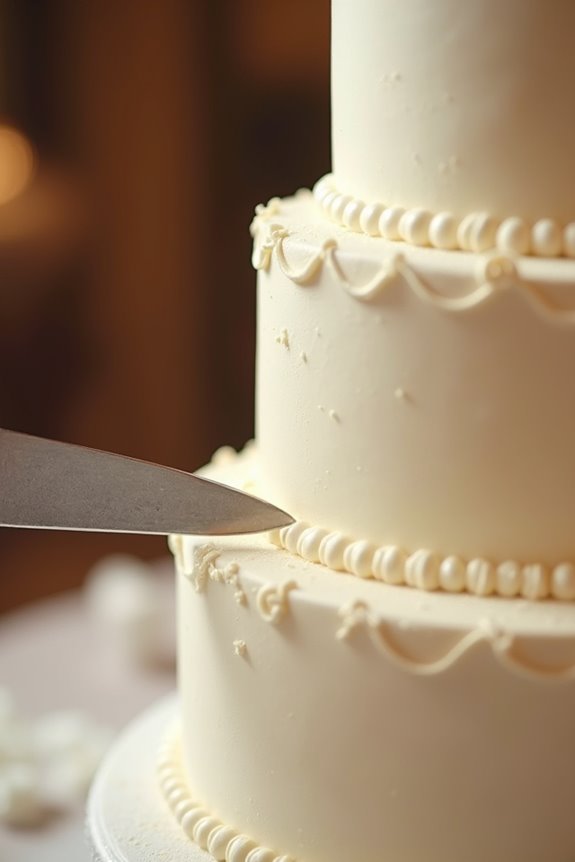
Since you’ve got your grip locked in and your positioning dialed in, it’s time to make that first mark—and trust me, this is where precision really counts. I’m going to walk you through scoring and slicing the bottom tier so cleanly that you’ll feel like a pro.
Here’s the process:
- Score a 2-inch frosting circle from the outer edge as your alignment guide
- Make two small parallel cuts about an inch apart to form your wedge shape
- Use a horizontal cut at the back to connect everything together
- Slide that wedge onto the plate with your cake server in one smooth motion
Working from the bottom tier keeps your top stable. That serving motion? Practice it once, and you’ll nail it every time.
Execute the First Bite: Polite Feed or Playful Smash
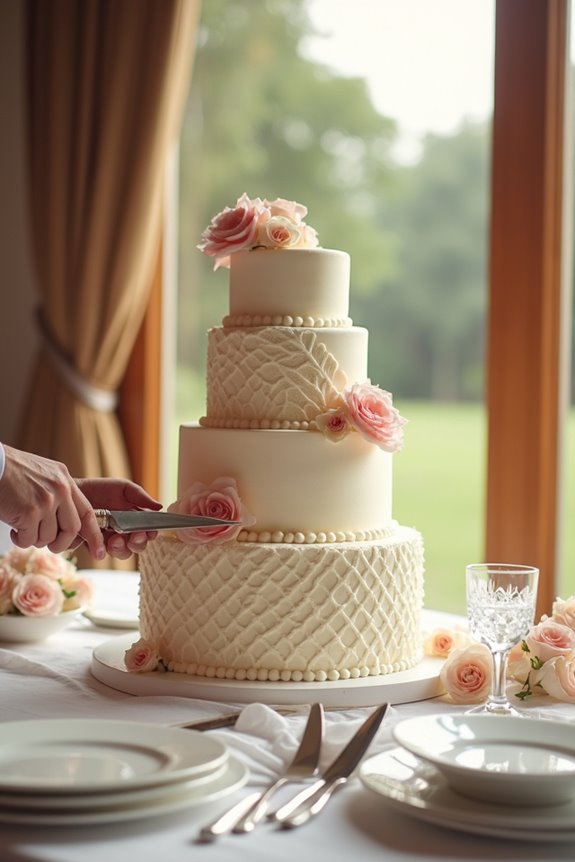
You’ve nailed the cutting technique, and now comes the part that’ll either make your photos look elegant or give your guests a good laugh—the first bite. You’ve got two main choices: the polite bite or the smash moment.
I’d recommend the polite bite for your photo-ready moment. Break off a small piece, feed it gently to your partner with forks, and you’ll protect your makeup and attire. It looks sophisticated in photos.
If you’re craving playfulness, that’s fine—just coordinate it beforehand. A pre-planned smash moment can work, but timing matters. Align your cake-cutting with your photographer’s position and your DJ’s cues. This ensures cake-cutting etiquette stays intact while capturing genuine joy.
Talk with your photographer about your vision. Whether you choose elegance or laughter, you’re making memories that fit your style.